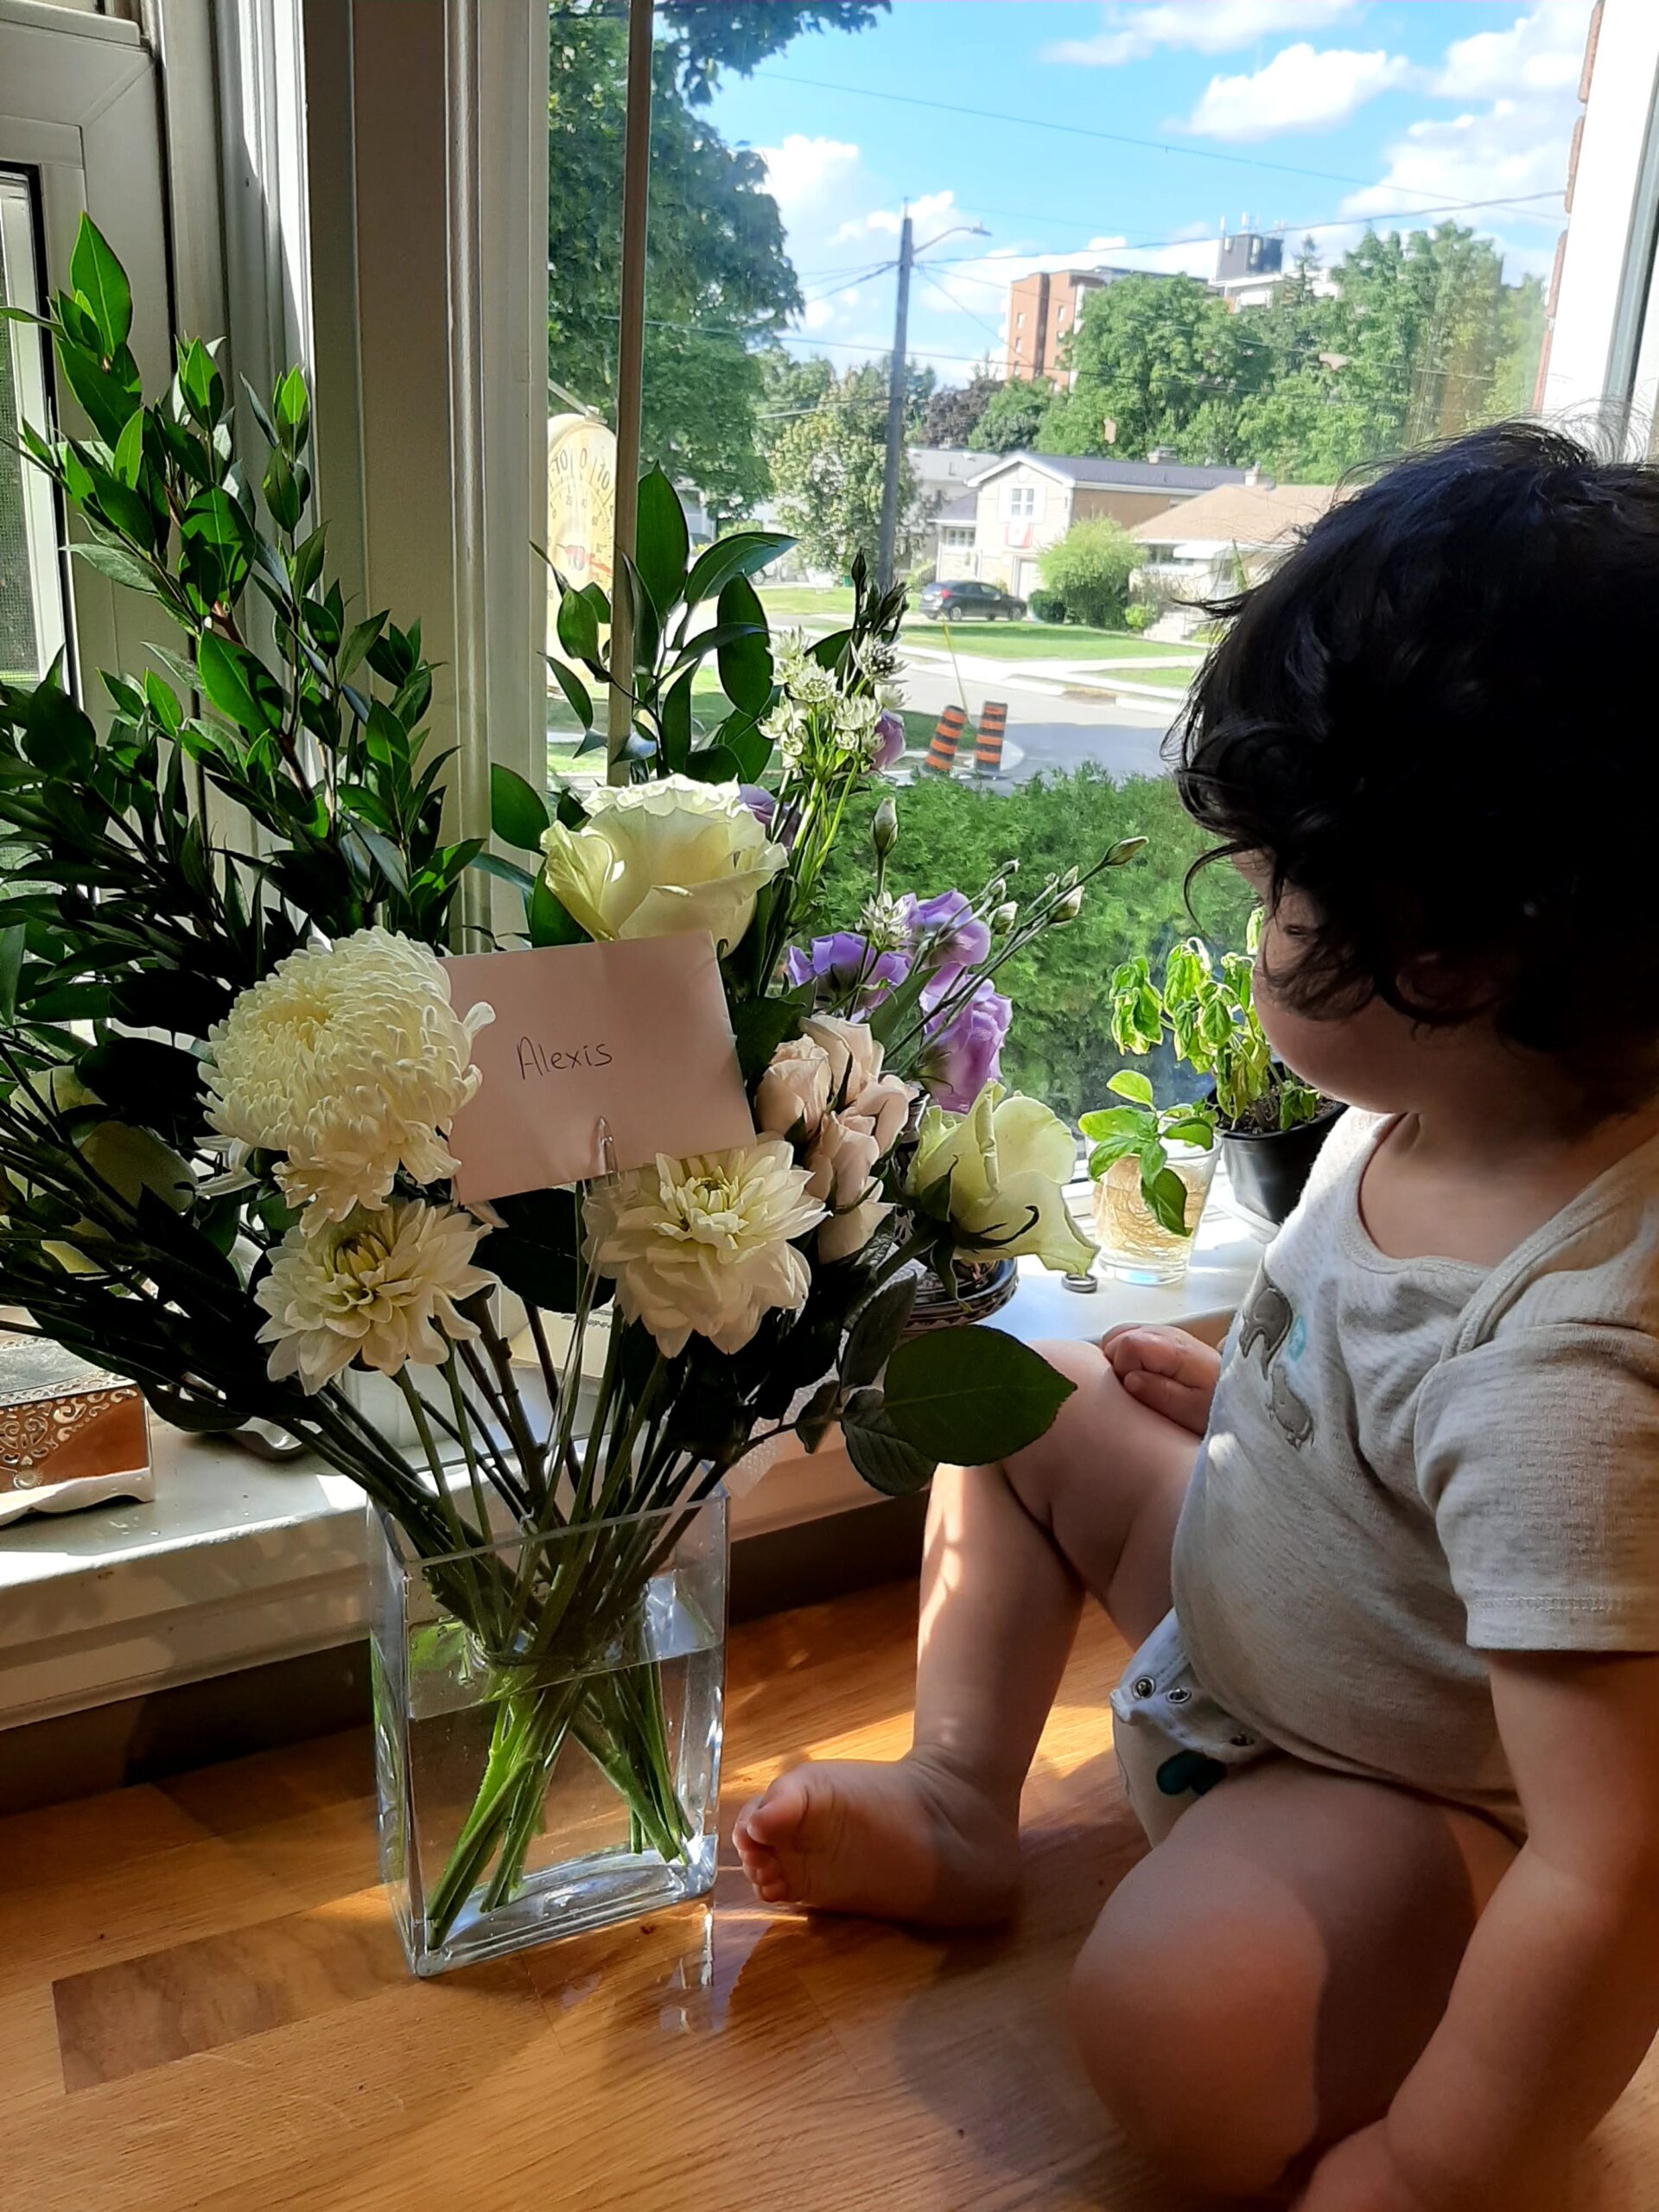
It’s been over four years since I bought the house where I currently live. My house is in a corner lot and had no fence in the back yard which meant that my then 1-year-old son, could run to the sidewalk or street every single time. If you are a parent and have been through this, you’ll understand. Kids love to run and feel free. The first instinct is to go far and explore every single thing. This meant that I had to constantly run behind him and not even have a chance to enjoy a cup of coffee or sit for more than 30 seconds, ugh! I then realized that I needed to build a fence. We live in a relatively calm neighbourhood in a medium-sized city. Most of the corner lots around the city have some type of privacy fence. It was time for us to step up our homeownership game.
Researching how to build a fence
I researched a little bit on the internet and found out that a fence could cost $100 per foot; excuse me? This included absolutely everything; but still, $80-$100 per foot? I measured my back yard and found out that I needed to enclose around 120 linear ft which meant possibly paying 10 thousand dollars! My mind could not comprehend how in the world! a fence could cost that much. I could buy a house somewhere in a small town in Mexico with that amount of money.
I then started watching tons of YouTube video tutorials on how to build a fence and paid attention to every single fence around my city to get an idea of what I liked and did not like. After realizing how much work it would be, I decided to call a local company for a quote. The result was $9,000 dollars, not too far from my initial estimate. If a company charges that much, it could mean that their profit is around 50%, which meant a cost of $4,500. That price number did not sound too bad for me…. but still.
I continued my “learning” with YouTube and started writing down the tools and materials needed for the project. I typed all that in a Google Sheet. The list kept growing and growing. With the power of the internet, I then started searching and comparing prices from every major building centre, including Walmart and Amazon. The estimated total cost was $3,000. Wow! 9k vs 3k!
With the savings in mind and 4 weeks of unused vacation time, having nowhere to go during the pandemic, I decided to take 2 weeks off and focus on the task for 16 straight days.
Check out my post: 4 Tips to Save Money.
Planning
I started planning the actual work and wrote down a list:
- Locate pipes and buried infrastructure
- Buy all the materials online and pick them up. Not including lumber
- Buy lumber and schedule delivery to my house
- Garden preparation
- Dig post holes
- Set posts
- Setup panels
- Build gates
I’ve always enjoyed building things with my hands, doing something physically. To a certain extent, I’ve always told myself that if other people can do it, so can I. My expectation of the fence was not high. I wanted something of good quality but not exactly perfect. For me, it was more important to lower the cost of the project than having a perfect/professional fence. I valued the safety provided by the fence, that was my number 1 reason to do it. A $9k fence versus a $3k fence will provide the exact same level of safety. The rest did not matter much to me. Of course, I did not want something hideous or that will break after the first wind advisory.
So I put on an old pair of jeans, a baseball hat and worked 7 am to 9 pm every single day for 2 weeks. Here is a guide on how to build a fence:
Locate
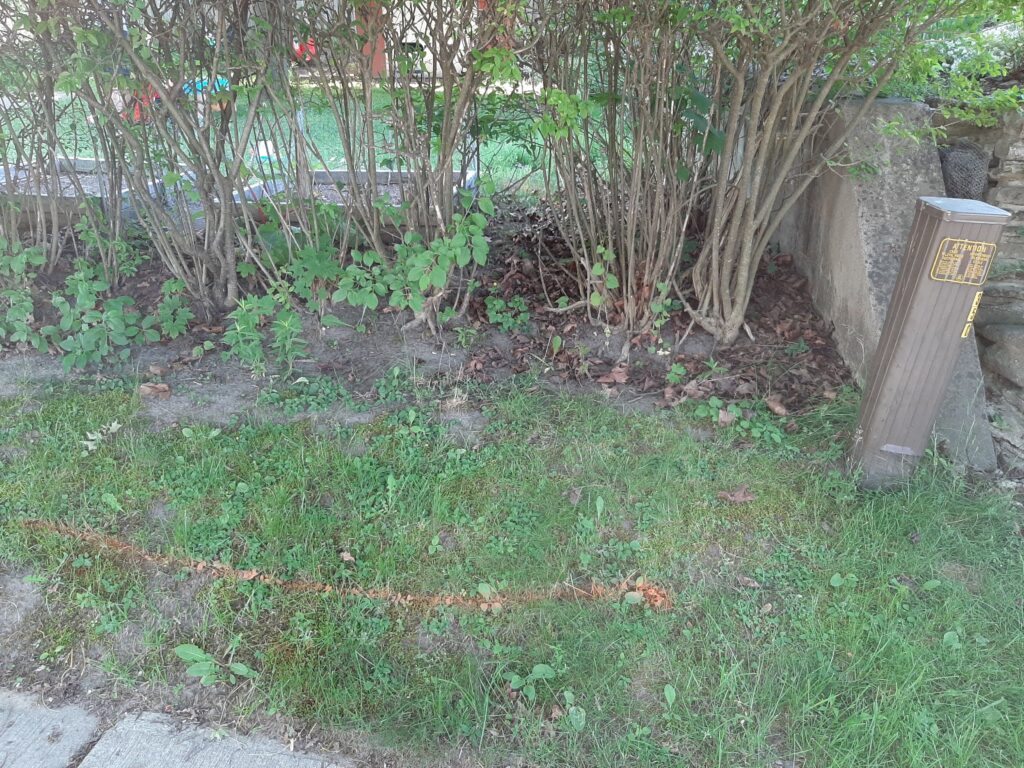
This is a requirement by my city to make sure I don’t dig where I am not supposed to. I did this online. There is a centralized website for my whole province. I submitted a request which takes care of submitting individual requests to the telephone, water, gas and stormwater companies. It was free. Three different teams showed up to my house and spray painted the ground marking the service lines. I also got an electronic copy which was extremely helpful after a couple of weeks when the paint started to fade away.
Materials
Home Depot, Canadian Tire, Rona, Home Hardware and Amazon. I did a search for every single item on my list on every website. Whenever I found the best option for me, which was a balance between price, quality and reviews, I added it to the electronic cart from that store, added a checkmark on my tracking sheet and added the price to tabulate the total cost of the project. You’ll be surprised how many things I got from Amazon, very good value and a quarter of the price compared to other stores.

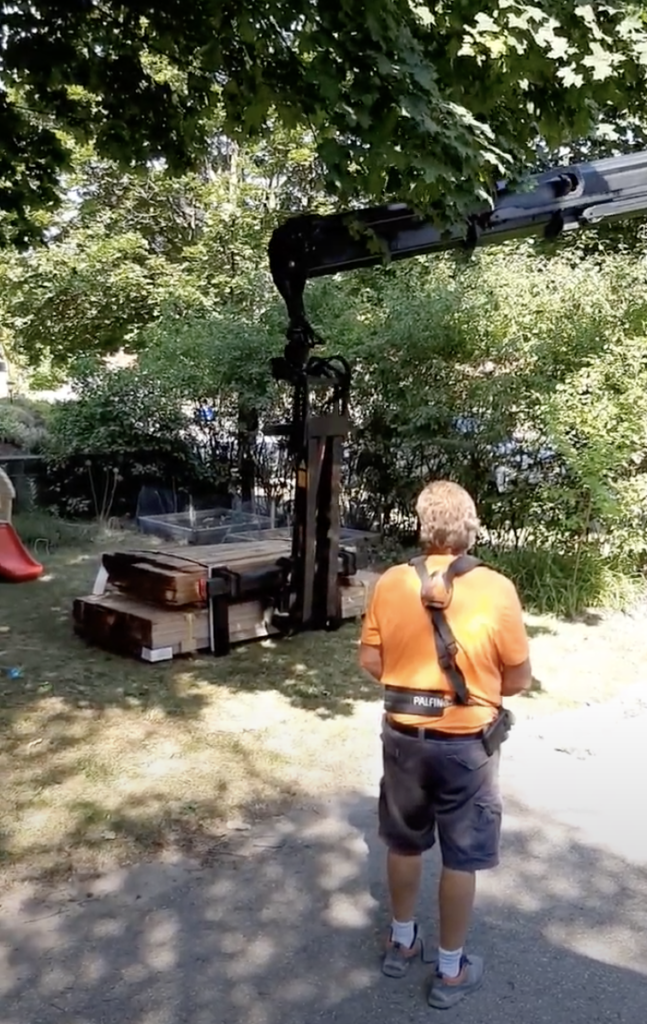
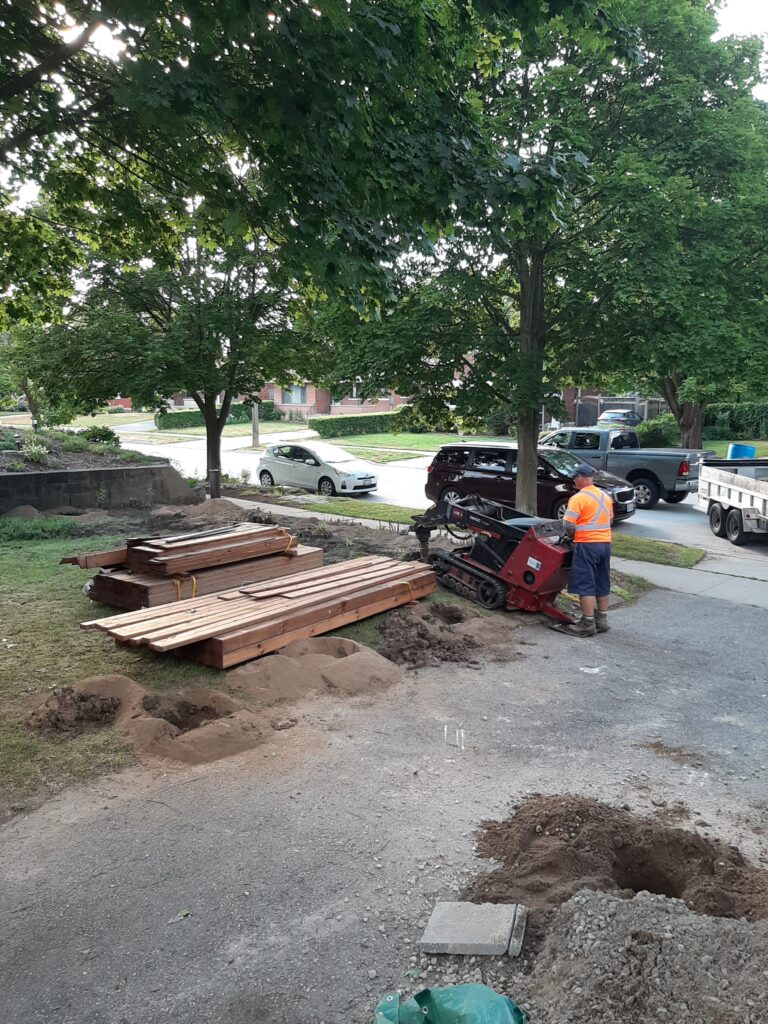
Lumber
Somehow I was not the only person wanting to do a summer project in the middle of a pandemic. Actually, a lot of people wanted to do this! I phoned every major lumber company around my town and all of them had zero stock. I was afraid that this would screw up my plans. But I eventually found a building company 30 minutes away from my city with everything I needed. They charged me an extra $75 for delivery, which I did not mind!
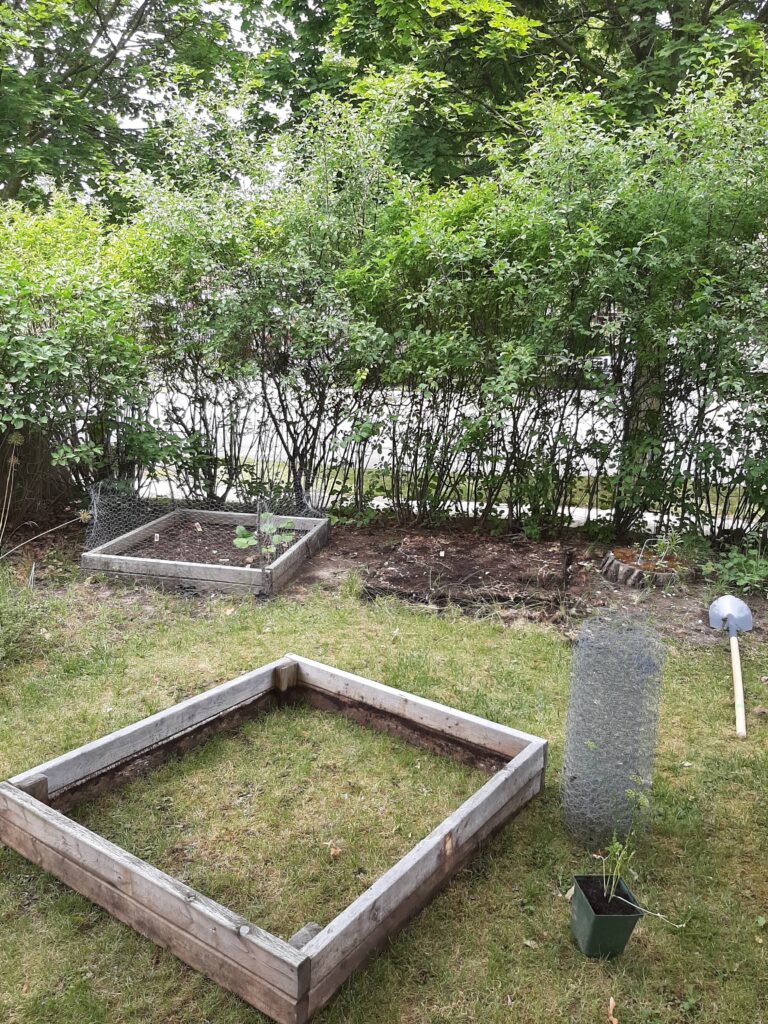
Garden prep
I had to get rid of 2 garden beds plus a huge pile of leaves from last fall. The leaves took approximately 15 garden bags. After I took apart the garden beds, I then chopped down a wall of bushes that according to my neighbour, had been there for over 40 years. This took longer than expected. I tied the branches with rope and made small bundles instead of using garden bags.
Post holes
It’s time for the actual fun stuff! I decided to build a horizontal fence, posts every 5-8 ft, depending on the location. I also decided to use 5x5x10 posts instead of 4x4x10 which at least doubled the price of the posts but will last longer on the harsh Canadian winters. For the panels, I got 1x6x8s, 1x6x6s and 1x6x5s. I also got a few 2x4x12s.
A few weeks before the project, my arborist offered to do the post holes for very cheap. Thank God I brought this up to our random conversation one day. He charged me $200 for 18 holes. I just had to mark the location of every hole in the ground and he showed up with a kick-ass machine and did the hard work, phew! If you pay for something when you build a fence, this is the part to do so.
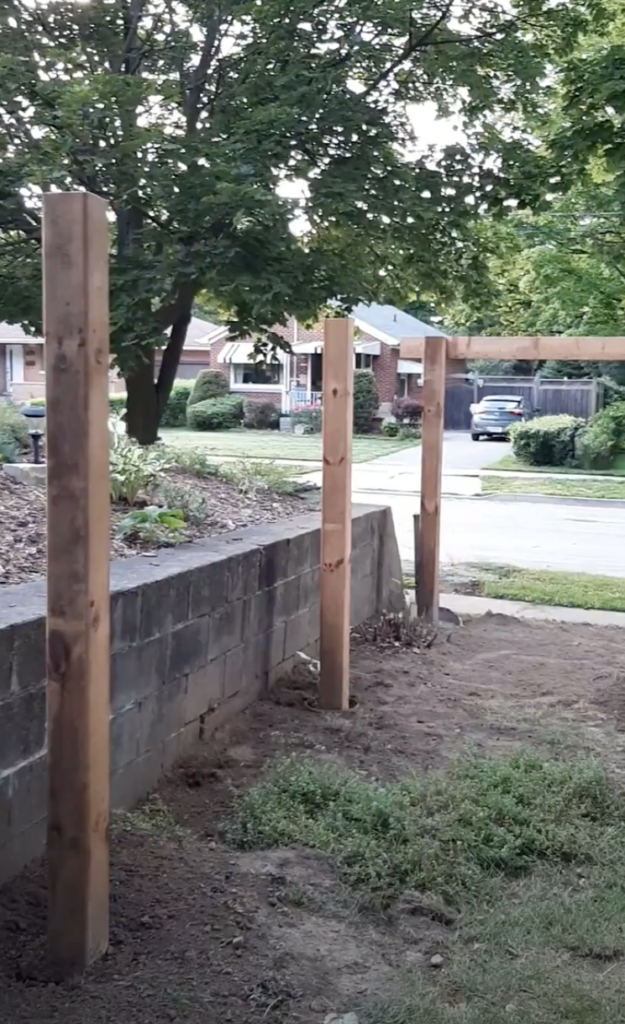
Setting up the posts
On every hole, I first measured the depth. The holes were between 2.5 – 3 ft deep and around 13 inches wide. I added a few inches of gravel at the bottom for drainage. Then cut in half a building form and placed it in the hole. Building forms allowed me to use less concrete. I cut the post to be 6 ft tall plus the depth of the hole. Placed the post in the hole. I used fast-setting concrete (only adding water, around 3 bags per post). Post levels are a must if you want to make sure the posts are 100% straight up and not leaning in any direction. I did all the corner posts first and connected them with a long orange line. I repeated the same process with the inner posts making sure the post barely touched the orange line. After 24 hrs of adding the concrete, I filled with soil the space around the posts.
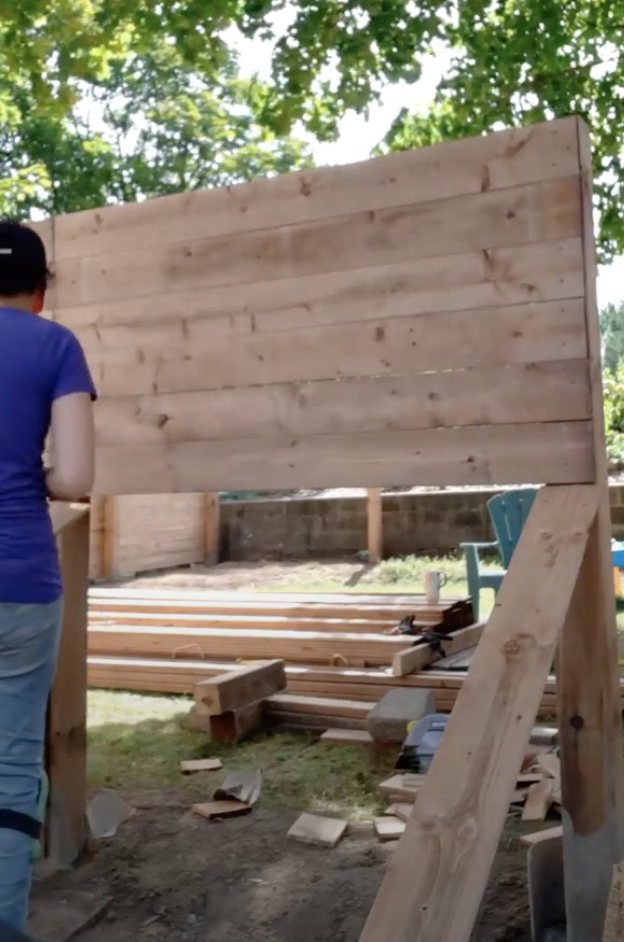
Panels
This was the easiest part, just drilling in every board into the post. I decided to use deck screws and drill in 4 screws per board instead of using nails. I started at the top and made sure the first board was 100% horizontal using a 24-inch level. After that, I just drilled in every single board under the first one. Make sure the boards are not wet, otherwise they will shrink after a couple of days and leave gaps in between the boards. This step could be done by 1 person but it is very efficient and fast with 2; so ask for help if you can.
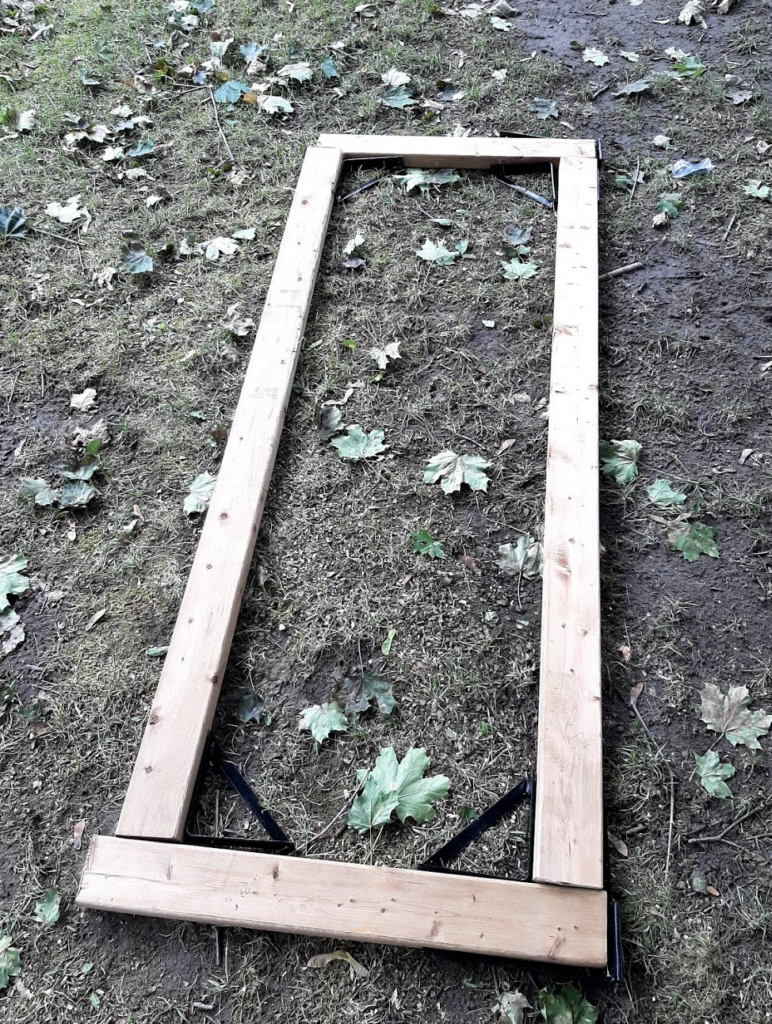
Gates
It was not only about how to build a fence. I also had 2 gates to do. The first one was a small gate for the side of my house. I cut 3 ft long pieces and used the easy gate system for the brackets; thank you Amazon! The other gate was the car gate and I decided to do a sliding gate. It was very tricky to make sure the rail system did not interfere with the 2 sliding panels, but it was worth it. I have more space around the car and gates now.

And there you have it, a fully enclosed back yard for a 12-month-old to run and play, and a happy mama to sit and drink a coffee. The money saved went straight into my retirement account.
Do you have something that needs to be fixed or done in your house? Have you considered learning online how to do it yourself? Try it. You can do it, I know you can!